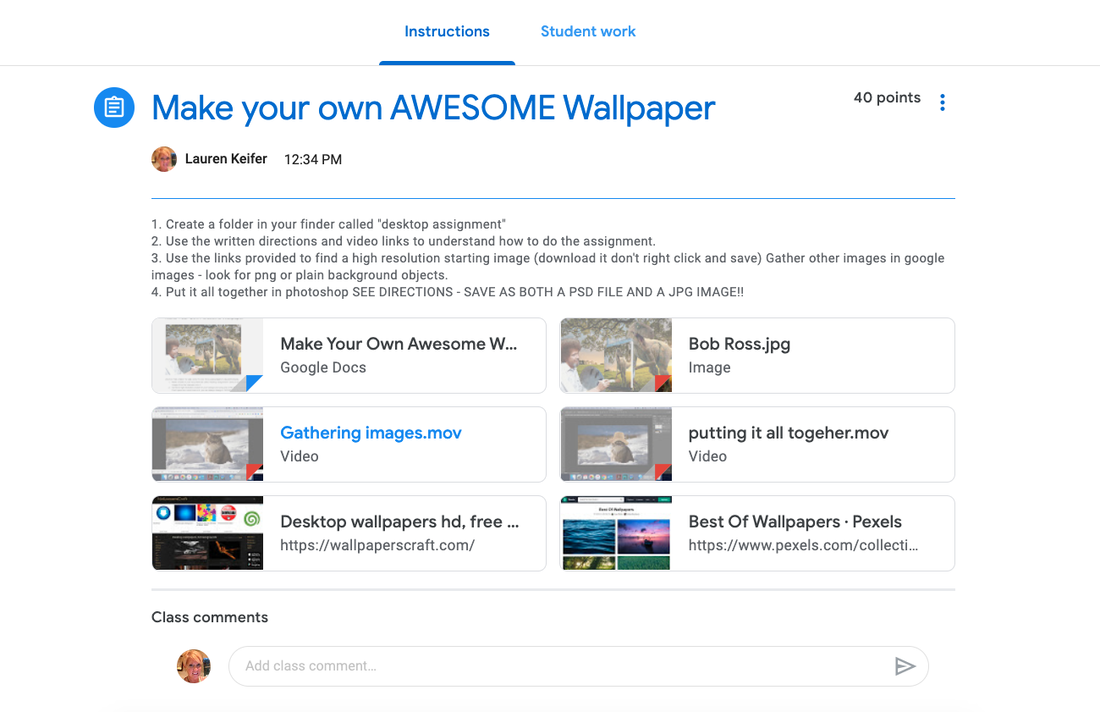
Using Google Classroom when I have a Sub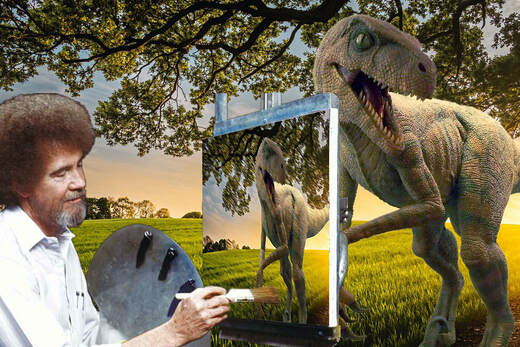 I don't like taking off because I'm kind of control freak about keeping all my students on the same point in their lessons. Teaching Digital Design and Ceramics makes it difficult to find a substitute who will know what goes on in my classroom. I keep a few assignments set aside as activities that students can work on while I am out for a day. My Digital Design students are right in the middle of learning all the selection tools, layer masks and editing features of Photoshop. It's a lot of learning and the kids talk about it being really hard. I am out tomorrow so I will put their new skills to the test. Students will be making their own crazy desktop images by combining images to make a unique design. They will have to use selection tools, layer masks, and know how to duplicate images. All the materials, including video tutorials showing students "how to" are waiting for them in Google Classroom. When they come to class they will see my message, and get started on their own. Having this ready for students helps me to get a substitute more easily because they know everything is taken care of. It helps me because I know the kids will be busy while I am away.
0 Comments
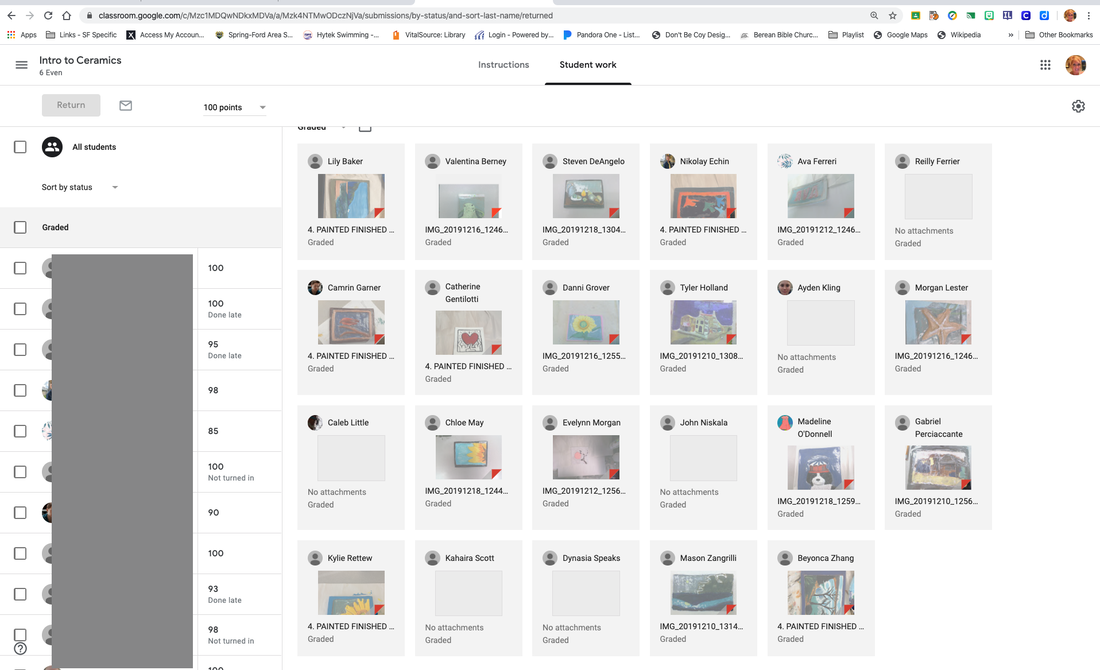
Teaching Selection tools using Differentiated Instruction I think teaching selection tools in Photoshop is one of the most difficult tasks to do in a class of 24 students who are all at different levels of understanding. First of all, Photoshop can be a super intimidating program to use, let alone teach 14 and 15 year olds how to use. First, don't reinvent the wheel. Adobe has tons of tutorials to use that offer step by step instruction and also have the practice photos to go with them. We used this set of tutorials to learn the quick selection tool, adding and subtracting from selections, and fine tuning selections. Our lesson to demonstrate mastery of selection tools is a lesson on Pop Art. Students use their own self portraits to make selections and color fills to create a Pop Art Self Portrait. First everyone practices with the same image that I give them. In order to allow students to work at the correct level I break the entire lesson down into parts and pre-record all the steps. Students who like to work ahead or on their own can do so by following the videos that I have posted in Google classroom or via a QR code displayed in the room. I still teach step by step and explain things along the way, but allowing students to work ahead gives them a a better sense of how the program works, and puts them in a position of being help classmates out. 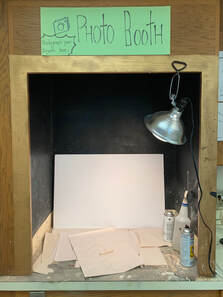 I have used Google Classroom in my ceramics room before, but not to the extent I decided to use it this year. I am finding it's keeping students accountable for turning in work on time. I have created a makeshift Photo booth for students to photograph their projects. It's really just the spray cabinet but now it doubles as a photo studio. Each time they finish sketches, or a ceramics project they photograph their work and upload the image to the correct assignment. This has helped tremendously as students don't always remember to put their names on the bottom of finished pieces. It makes things easier to identify so if I need to take a closer look at projects, now I have a visual record of what project belongs to which student. I can also leave written comments and let students know if something is missing. Creating Original Thought - And Using Technology to Help The concept of coming up with a brand new idea is something that is really difficult to teach. Artists do this all the time and it’s a skill that should be practiced and developed while students are still in grade school so they will be ready for the future as they enter the workforce. We hear about how important innovation skills are in our current society, yet there are few opportunities in school that provide this practice. The art room is one place that’s often overlooked yet it’s a place that is brimming with possibilities to develop those important innovation skills. I recently wrote a lesson plan for a tile project. We do a tile carving project every year in ceramics minor, but I decided I’d like to a different level. My students in the 2020/2021 school year will do the project so I’ll need to check back next year to see how it goes. Of course the Essential Question is: “ How does someone create an original design”. I will be breaking down the process for students by brainstorming together for guidance, and then letting students break down creative thought on their own. This is done starting with a large theme or idea and then applying free association. Students write connections and thoughts, create mental images, and gather related imagery; ENTER WEBJETS! We will be using webjets for organizing thought and breaking down the brainstorming process. This web 2.0 tool has it all for organizing materials. There are so many possibilities for educational use but it’s AMAZING for the art room. In my tile lesson my students will create 3 topic cards in which they will free associate related ideas, pull in associated imagery, (which by the way is done literally by dragging them in), add written thoughts about their ideas, and finally add related visuals for their idea. From here they can share their ideas back to me for direction and begin to put their original designs together. I am loving this tool. Check it out our thought process. Stepping into an art room might seem like an augmented reality in and of itself. How often do students get to sink their hands into clay, paint a picture or spend a week or more in total darkness creating light paintings? These are just some of the things they get to do in an art room that is so "other" than the normal learning that goes on at school.
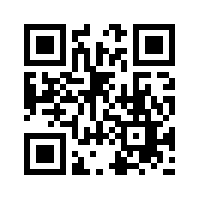
Augmented reality is something I have been learning about. There are some interesting technologies starting to pop up that can provide different educational experiences for students. Apps such as Metaverse allow you to create augmented reality experiences for students. Or take a virtual field trip. Google Cardboard is an inexpensive way to have a set of viewers for your class. You can then create tours or find ones that fit what you are teaching. Although not completely an augmented reality, I have began to institute QR codes in my classroom as easy access points to references students can watch as they work on their photoshop projects. They can watch a tutorial in real time as they work. It's a handy resource for students needing extra help, and for those who like to work ahead. Want to know how to change your blending modes in Photoshop? Scan the code. |
AuthorHi, I'm Lauren Keifer, or Mrs. Keifer as my students know me. I am at the Spring-Ford School District 9th grade center where I teach Intro to Digital Art and Ceramics. Archives
March 2020
Categories
All
|
 RSS Feed
